
Lead Connector (LC)
Genius Checkout installs into Lead Connector as a custom payment provider, so funnels, order forms, and recurring products charge through PowerTranz, MPGS, or any other gateway you've configured. This is our most-used integration.
Same product, two brand names
If your sub-account is on the non-whitelabel HighLevel brand, the install steps are identical. See HighLevel (GHL) for the version with HighLevel wording.
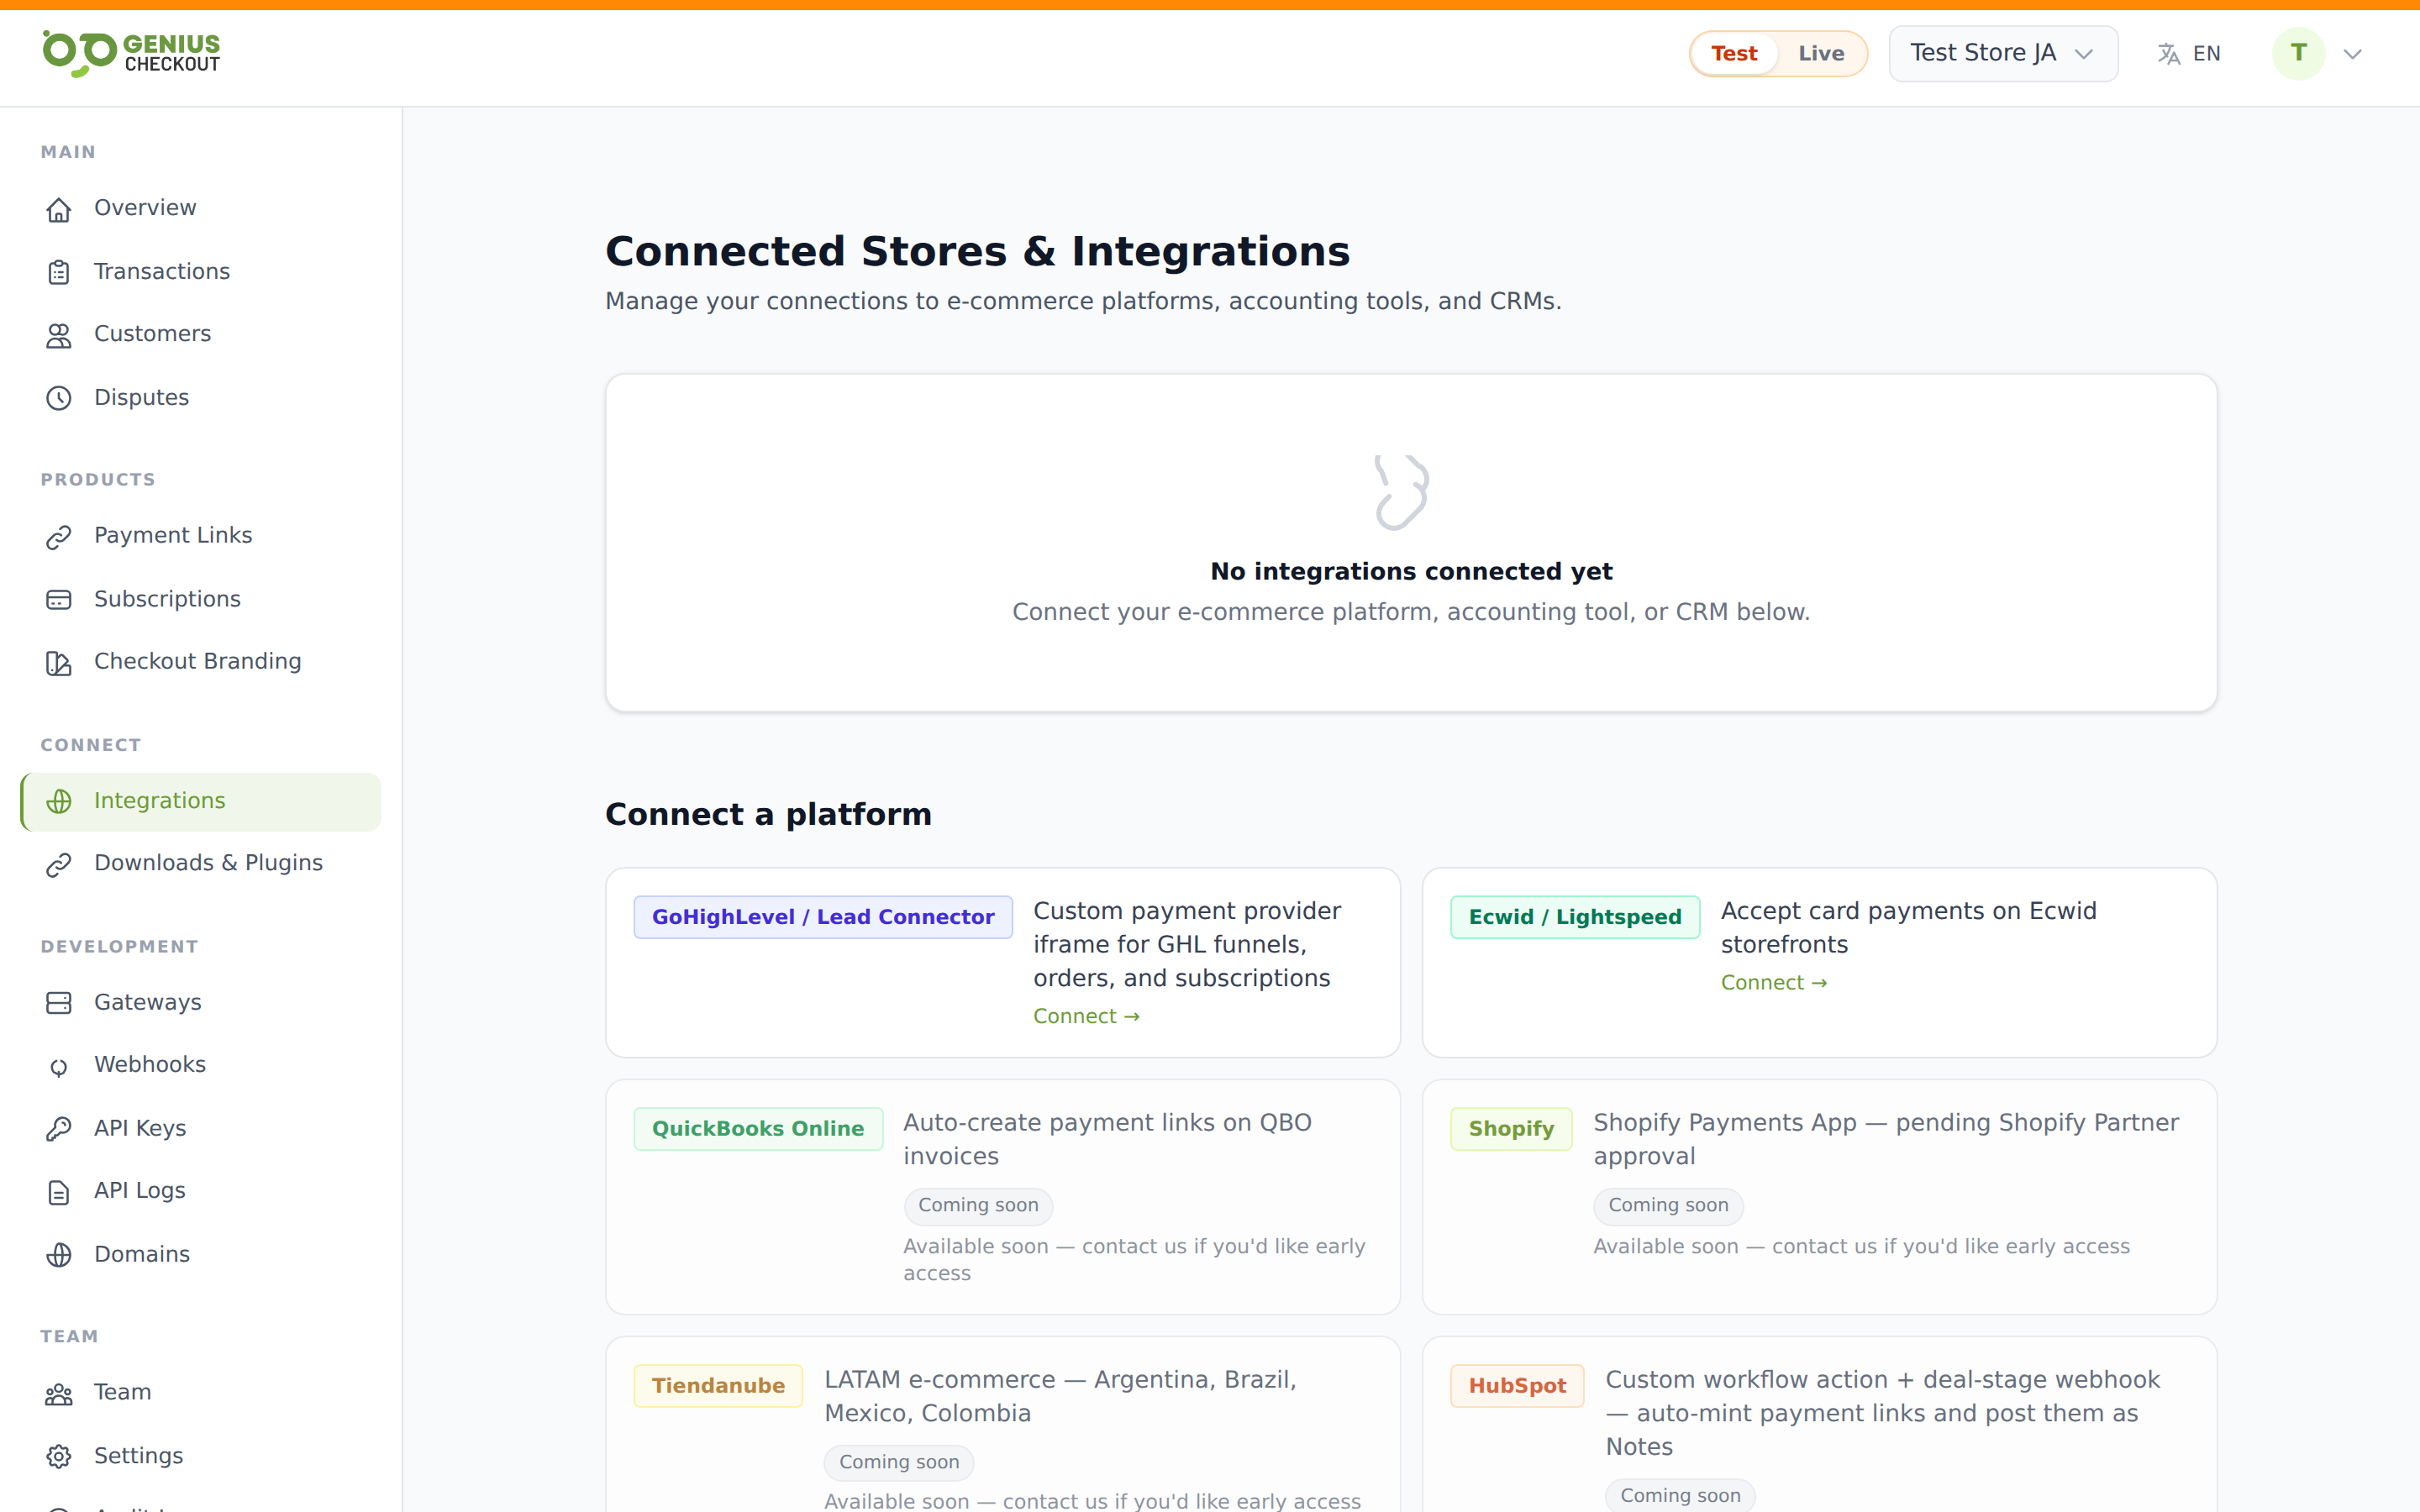
Install from the Lead Connector marketplace
Marketplace apps must be installed from the marketplace listing, not via direct OAuth links. From the merchant portal, click Connect on the Lead Connector card — we'll open the official Genius Checkout listing in a new tab. From there:
- Click Install on the listing page.
- The marketplace asks you to choose which sub-account to install into. Pick one.
- You're redirected to our OAuth consent screen — review the scopes, click Allow.
- You're bounced back into the sub-account. A new tile appears under Settings → Payments → Integrations called Genius Checkout.
Don't paste /lc/install directly into a browser
That URL is the OAuth callback target the marketplace calls during the install flow — not a standalone install entrypoint. Hitting it from a logged-out browser shows an "app not available for direct install" error. Always start from the marketplace listing.
Opening the Genius Checkout configuration
From inside the sub-account where Genius Checkout is installed:
- Open Settings → Payments → Integrations.
- Find the Genius Checkout card and click Manage (older versions of the dev console label this button Configure — both open the same page).
- The Genius Checkout configuration app loads inside the platform iframe. We recognise your sub-account through the postMessage SSO handshake and silently log you into your Genius Checkout account — no second password.
- Open the Settings tab and configure your gateways, branding, and per-location preferences.
Agency-view users
If you're signed in at the Agency level rather than inside a specific sub-account, the page that opens after clicking Manage asks you to switch perspectives first. Click Sub Account View at the top of the app, pick the sub-account you want to configure, then open the Settings tab. Configuration is always scoped per sub-account — you cannot set gateways at the agency level.
What gets auto-configured
The OAuth callback does everything for you:
- Creates an
IntegrationConnectionrow scoped to your location ID. - Provisions a
gc_live_…andgc_test_…API key pair encrypted on that row. - Registers Genius Checkout as a payment provider via the Custom Provider Connect API.
There's nothing else to paste back. On the Genius Checkout side, the connection shows up under Integrations → Lead Connector with status Connected.
Test mode vs live mode
The iframe respects your portal-wide Test mode vs Live mode toggle. Switch to test mode and Lead Connector will route checkout attempts through the gc_test_… key against your sandbox gateway credentials. Switch back to live to take real cards. See Test Mode vs Live Mode.
Subscriptions
Funnel and order-form recurring products are supported — when a buyer subscribes, we tokenize the card during the first charge and store a payment token tied to your Lead Connector subscription. Renewals charge that token. The integration sends back subscription_id on each charge so the cycle stays linked.
Mixed carts not yet supported
A cart that mixes a one-off line and a recurring line in the same checkout currently isn't supported end-to-end. The one-off captures fine; the recurring leg can fail to bind. Open ticket — contact support if you hit this.
Managing per-location settings
The Genius Checkout settings panel on the integration detail page intentionally has no fields. All per-location configuration (gateway selection, descriptor, branding) lives inside the platform iframe — open it from Settings → Payments → Integrations → Genius Checkout → Manage, then use the Settings tab. Agency-view users will need to click Sub Account View and choose a sub-account first (see Opening the Genius Checkout configuration above).
Disconnecting
Use the Lead Connector marketplace to uninstall, or Disconnect from the integration detail page. Both stop the payment provider from accepting new charges; existing subscriptions stop renewing once disconnected.