MFA & Security
Genius Checkout supports two flavours of multi-factor authentication and exposes an audit log so you can review sensitive actions. Open MFA settings from Profile → Two-factor authentication.
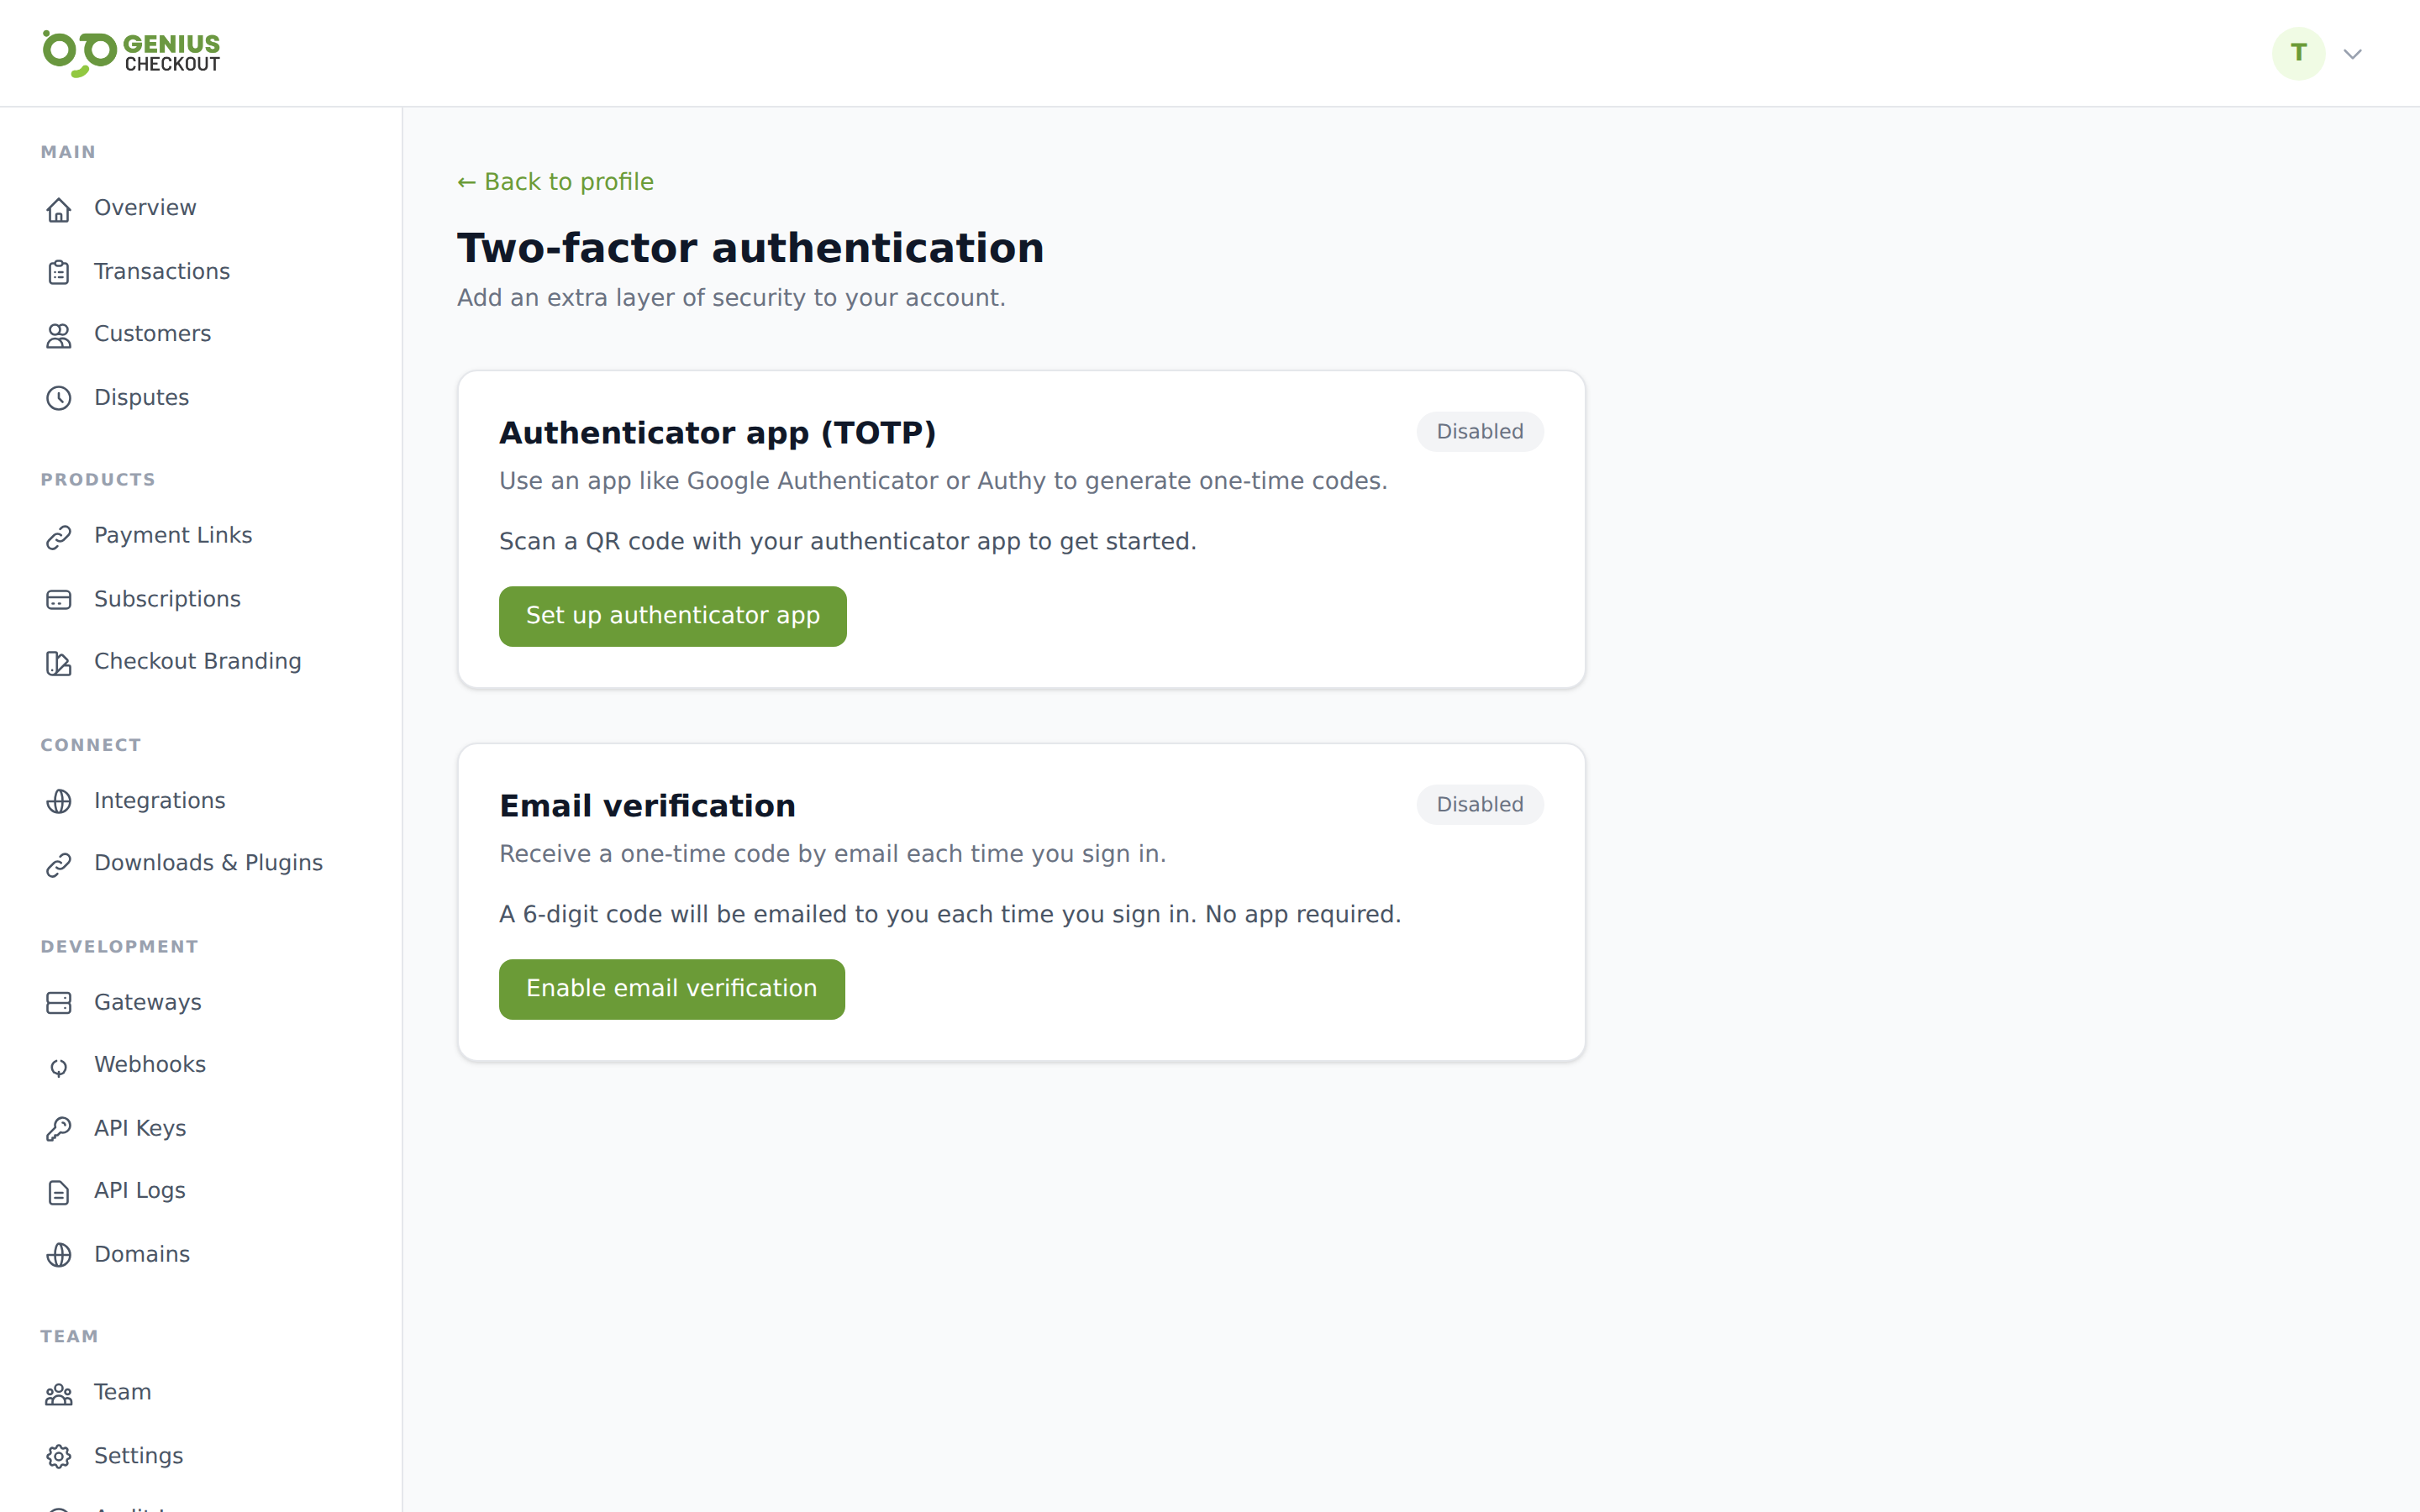
Email MFA
Email MFA sends a six-digit code to your account email every time you sign in (and every time you start a new session — see What triggers an MFA prompt below).
Enabling: click Enable email MFA on the Two-factor page. The next sign-in will challenge you with a code emailed to your account address. Codes expire after 10 minutes.
Disabling: click Disable email MFA. You'll need to confirm the action. Without any MFA method enabled, only a password protects your account — we recommend keeping at least one method on.
Authenticator-app MFA (TOTP)
Stronger than email — codes are generated by an app on your phone (Google Authenticator, 1Password, Authy, etc.) and don't depend on your inbox.
Enabling: click Enable authenticator app. The page renders a QR code and the underlying secret string. Scan the QR with your authenticator, then type the current six-digit code into the Confirm field. Once confirmed, you'll be issued recovery codes — print or save these somewhere safe; they're how you regain access if you lose the phone.
Disabling: click Disable authenticator app and confirm. If you have email MFA still on, that becomes the active method.
Regenerating recovery codes: invalidates the previous set. Use after you've consumed any.
What triggers an MFA prompt
The middleware fires on every authenticated request once per session. Specifically:
- First sign-in on a new browser / device.
- Returning to the portal after the session cookie has expired.
Public embedded surfaces (the HighLevel iframe at /lc/… or /ghl/…, the buyer-facing /checkout/… and /pay/… pages, and the Ecwid settings iframe) skip MFA because they're not authenticated portal sessions — they use API-key or signed-token auth instead.
The audit log
Every privileged action against your account is recorded in an immutable audit trail. Open it from Settings → Audit Log.
The log captures actions like:
- Sign-ins and sign-outs
- API key generated / revoked
- Webhook endpoint created / deleted / secret rotated
- Integration connected / disconnected / removed
- Settings updates
- Team-member invitations and role changes
Each entry shows the actor user, action, timestamp, and (where relevant) the entity it touched. Filter by action or actor; paginate through history.
Audit log records are retained for the compliance window — longer than the API Logs 90-day retention because they're regulatory.
Password hygiene
The portal enforces a reasonable minimum at signup. You can change your password from Profile → Edit profile. Use a password manager — every leaked password we see has been a re-used one.
IP allowlisting
The portal does not currently expose a per-merchant IP allowlist for the dashboard itself.
For API access, you can rotate keys aggressively or hide your gc_live_… key behind a backend proxy that you do allowlist — see API Keys.
What to do if you suspect a breach
- Revoke every
gc_live_…API key on API Keys. - Rotate every webhook signing secret on Webhook Endpoints.
- Change your password and re-enable MFA if it was off.
- Review the audit log for the suspicious window and email [email protected] with what you found.