Checkout Branding
The Checkout Branding page controls how your hosted checkout, payment links, and email receipts present to buyers. Open it from the left nav under Settings → Checkout Branding.
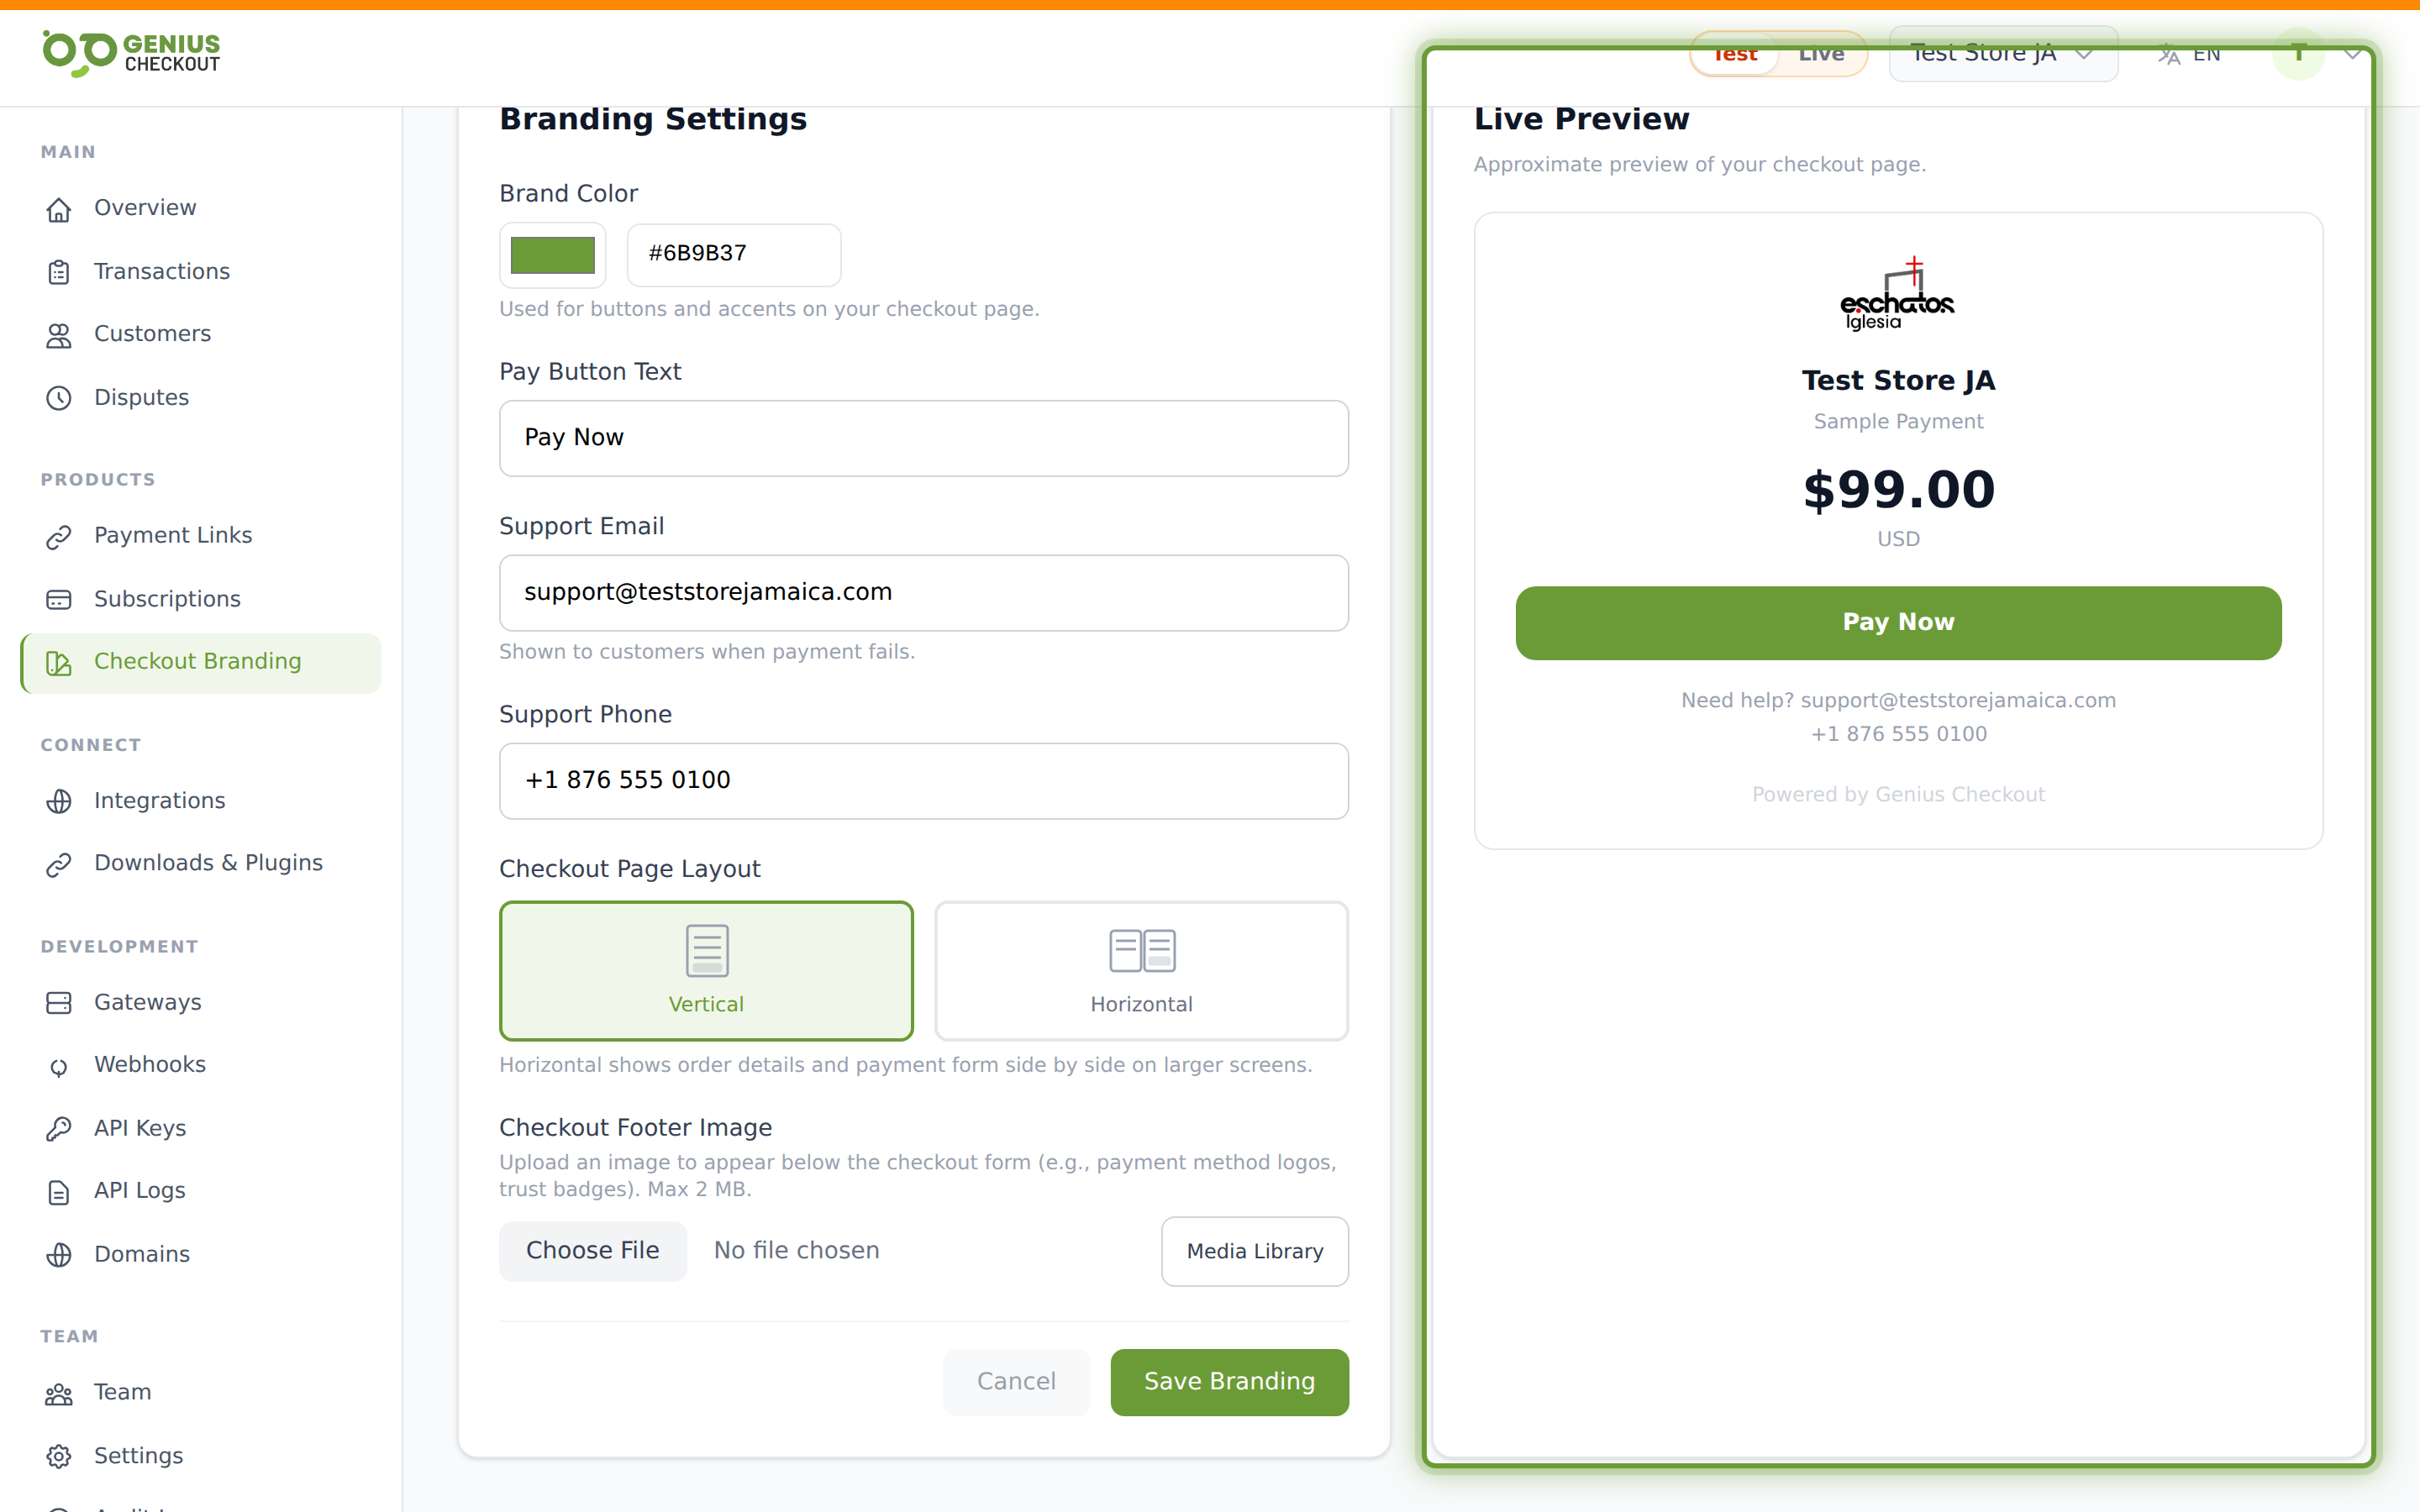
The page is split into two panes: a form on the left and a Live Preview on the right that re-renders as you type.
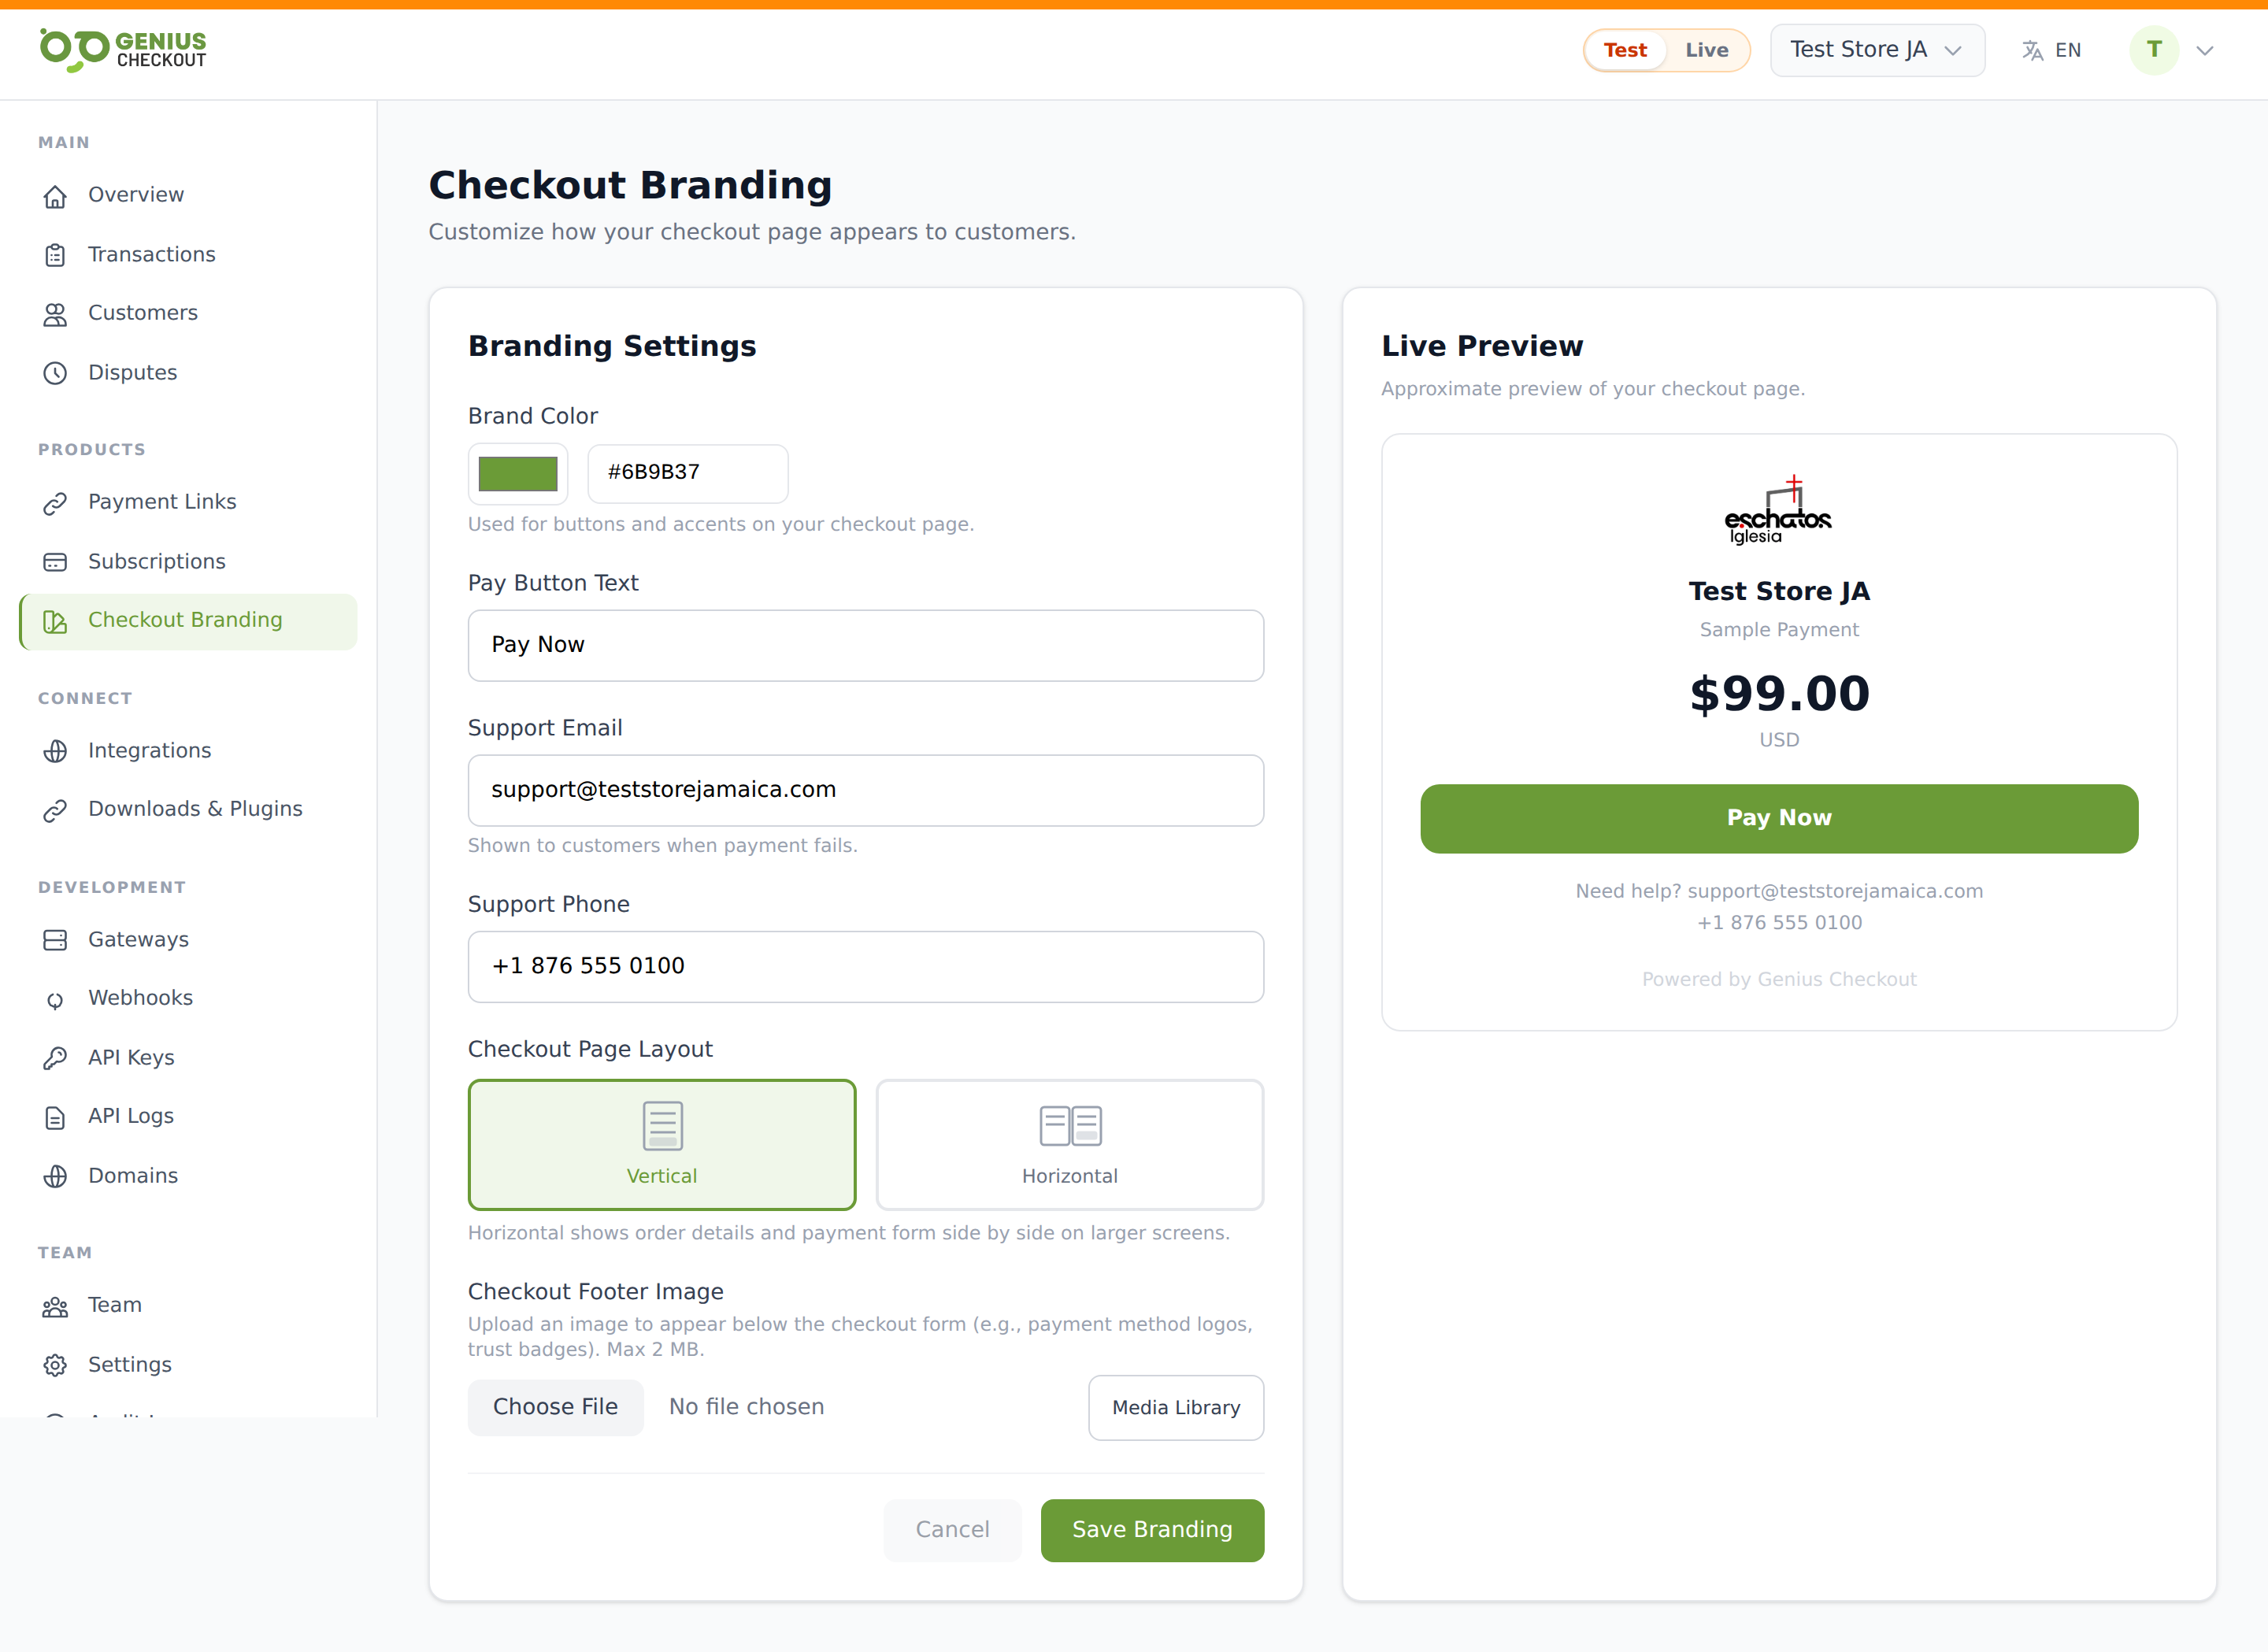
Brand colour
A colour picker plus a hex input field. Used for the pay button, headings, and accents on the checkout page. Defaults to Genius Checkout green (#6B9B37) — replace it with your brand hex.
Pay button text
The label shown on the checkout's primary CTA. Maximum 30 characters. Defaults to Pay Now. Use this to match your brand voice (e.g. Complete order, Donate, Subscribe).
Support email and phone
Shown in the checkout's footer ("Need help? [email protected]") and surfaced when a payment fails so buyers know who to contact. Both are optional. The buyer-facing copy is rendered live in the preview so you can sanity-check it.
TIP
Your business / billing contact email lives on Account Settings — checkout branding is the buyer-facing support address only.
Checkout page layout
Choose between two presets:
- Vertical — order details stacked above the payment form. Default. Best for mobile-first flows and short carts.
- Horizontal — order details and payment form side by side on larger screens. Falls back to vertical on phones. Best for longer carts where the buyer benefits from seeing line items while paying.
Checkout footer image
Optional image displayed below the payment form. Most merchants use this for trust badges or accepted-card logos. Limits:
- Max size: 2 MB
- Accepted: PNG, JPEG, SVG, WebP
You can upload a new file from your computer or pick from the Media Library if you've used the image elsewhere in the portal. Click Remove to clear an existing footer image.
Logo
The buyer-facing logo at the top of every checkout is your merchant logo, uploaded from Account Settings — it's not on this page because it doubles as your portal avatar. If no logo is set, the checkout renders your business name's first letter on a coloured tile.
Saving and the Live Preview
The preview reflects unsaved changes immediately. Click Save Branding to persist; Cancel to revert to the last saved state. A green confirmation chip appears after a successful save.
What this page does NOT control
- Collect billing address at checkout — that toggle lives in Account Settings.
- Default custom fields — see Default Custom Fields.
- Receipt email template — branding does not currently expose a receipt-template editor.