Team Members & Roles
Every merchant account has its own team. This page covers the Team screen (sidebar → Team → Team), the invitation flow, what each role is allowed to do, and how to remove or change members.
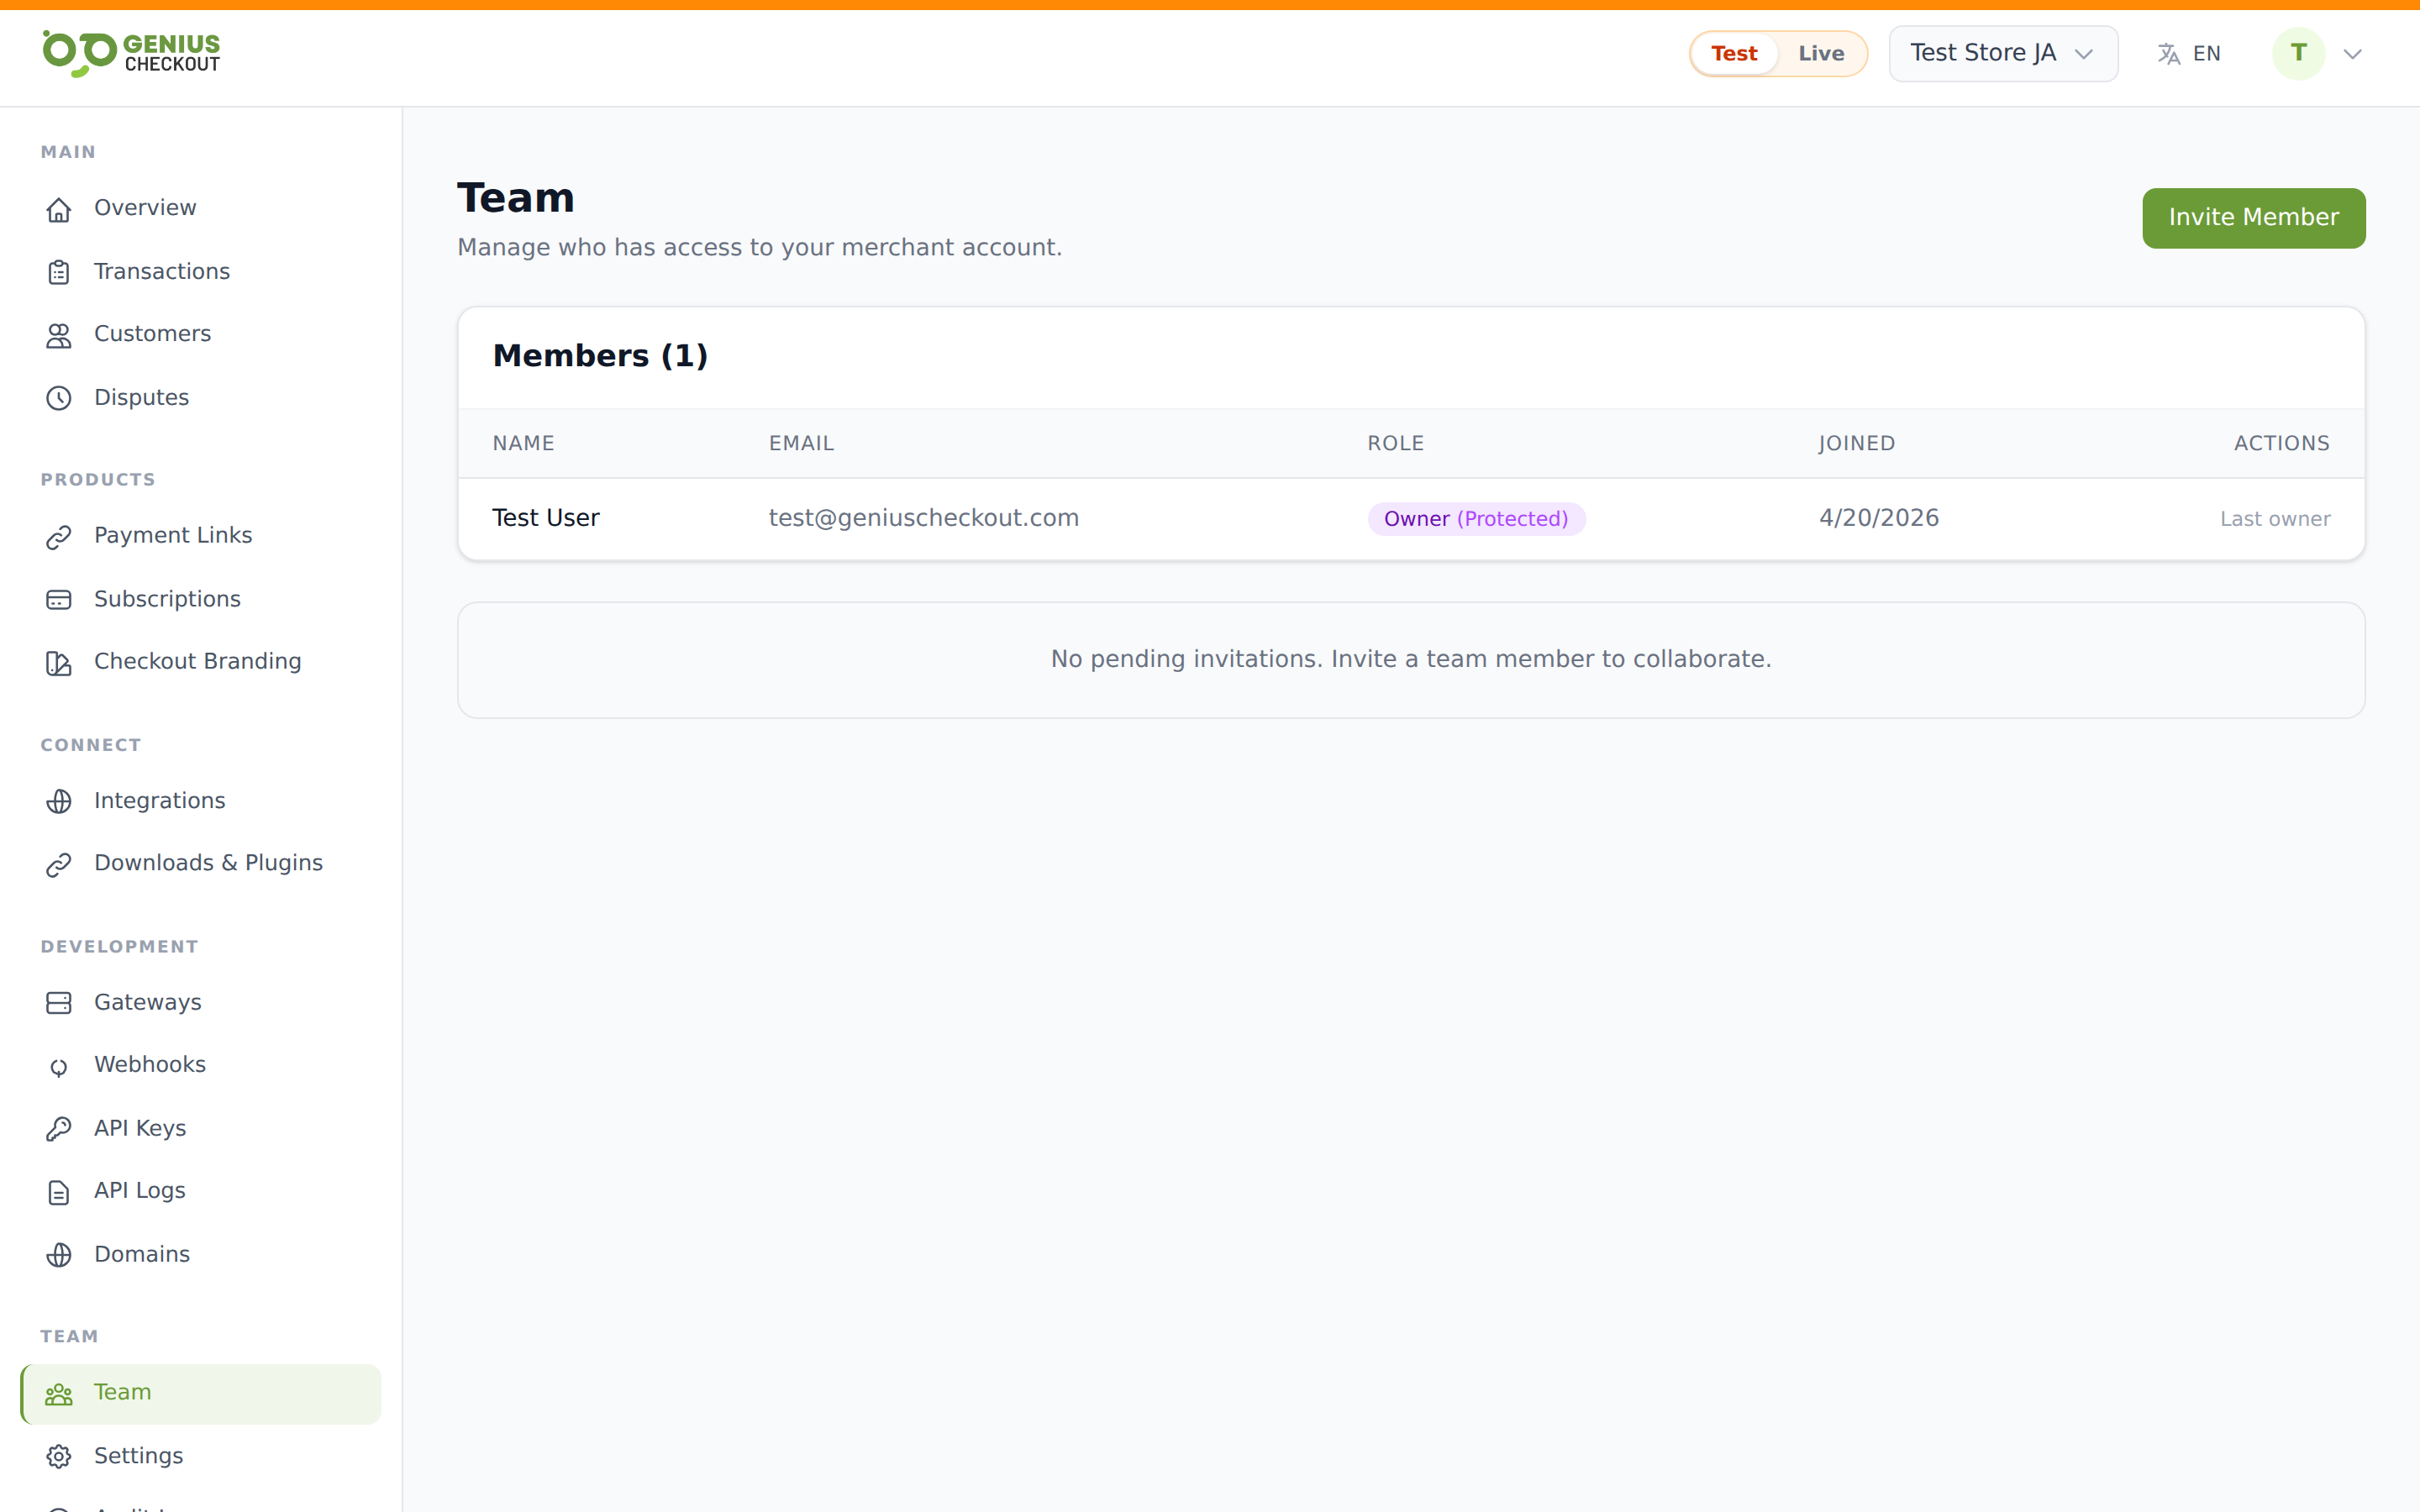
The Team page
The page is split into three blocks:
- Members — everyone currently on your team, with name, email, role, and join date.
- Pending Invitations — invites sent but not yet accepted, with expiry date.
- The Invite Member button (top right) opens the invite form.
You'll only see the action buttons (Invite, change role, Remove, Cancel, Resend) if your own role has the manage_team permission — that's Owner or Admin.
Inviting a new member
- Click Invite Member.
- Type the colleague's email address.
- Pick a role from the dropdown.
- Click Send Invite.
They'll get an email with a link. Once they click it and sign in (creating an account first if needed), they show up under Members and the pending invitation disappears.
For an invitation that hasn't been accepted yet you can:
- Resend — re-sends the original email. Useful when it was spam-filtered.
- Cancel — invalidates the invitation link.
Invitations expire automatically. The Pending Invitations list shows the expiry date next to each row, in red once it's elapsed.
Role permissions matrix
Roles are per-merchant — a user can be Owner of merchant A and Viewer of merchant B. The full matrix as enforced by the server:
| Permission | Owner | Admin | Developer | Finance | Support | Viewer |
|---|---|---|---|---|---|---|
| Manage team (invite, remove, change roles) | Yes | Yes | — | — | — | — |
| Manage gateways | Yes | Yes | — | — | — | — |
| Manage API keys | Yes | Yes | Yes | — | — | — |
| Manage webhooks | Yes | Yes | Yes | — | — | — |
| Manage checkout (branding, custom fields) | Yes | Yes | Yes | — | — | — |
| Manage settings | Yes | Yes | — | — | — | — |
| Manage domains | Yes | Yes | — | — | — | — |
| Initiate refunds | Yes | Yes | — | Yes | — | — |
| Void transactions | Yes | Yes | — | Yes | — | — |
| Capture transactions | Yes | Yes | — | Yes | — | — |
| View transactions | Yes | Yes | Yes | Yes | Yes | Yes |
| View customers | Yes | Yes | Yes | Yes | Yes | Yes |
| View reports | Yes | Yes | — | Yes | — | Yes |
Picking the right role
- Owner is total access plus the ability to remove other owners.
- Admin is the same as Owner minus the ability to delete the merchant or remove the last Owner.
- Developer is for engineers who need API keys, webhooks, and branding — but no financial actions.
- Finance can refund, capture, and void, plus read reports — but can't touch gateway credentials or invite people.
- Support is read-only access to transactions and customers — great for a CX team handling tickets.
- Viewer is read-only and also sees reports — good for execs and stakeholders.
Changing a role
Find the member in the table and pick a new value from the role dropdown in their row. The change applies immediately. There's one guard: you cannot demote the last remaining Owner. To do that, promote someone else to Owner first.
Removing a member
Click Remove at the right of their row. A confirmation prompt appears before the action runs. The same last-Owner protection applies — the last Owner is labelled Last owner with no Remove button.
WARNING
Removing a member instantly revokes their access. Their personal API keys and webhook endpoints belong to the merchant (not to them), so those continue to work and are now managed by the remaining team.
Accepting an invitation
If you're the recipient: the email has a link like https://app.geniuscheckout.com/invitations/<token>. Click it. If you already have a Genius Checkout account, sign in and you'll be added to the merchant. If you don't, you'll be prompted to create one — use the same email the invitation was sent to.
After signing in, the merchant appears in your top-bar merchant switcher. Pick it to start working.